About products
As a managed service provider, you bill your customers for a variety of parts, components, and hardware and software products, in addition to labor. It is easy to lose track of parts or spend a lot of time not losing track of them. To avoid challenges, you need to make tracking materials as easy as possible. Instead of manually entering the details of an item, you want your technicians to select them from a clearly structured Products list.
Before you can add or import your products, your business owner or administrator must do the following:
- Set up your tax regions and categories
- Review material codes
- Add products
How to...
If you are the owner
Set up your tax regions and categories
Items you sell to end clients are usually subject to taxation. Some items may not be taxed in some tax regions, and some, often labor, may be taxed at different rates.
You configure your tax settings on this page: Left Navigation Menu > Admin > Admin Categories > Features & Settings > Finance, Accounting & Invoicing > Tax Regions & Categories. Refer to the context-sensitive help for these pages.
Taxes are applied to products using billing codes. The billing codes for products are called material codes. Your Autotask instance has been pre-configured with all the material codes you will need to get started. You can find them on this page: Left Navigation Menu > Admin > Admin Categories > Features & Settings > Finance, Accounting & Invoicing > Billing Codes > Material tab.
Taxes are applied to products using billing codes. Items you sell to end clients are usually subject to taxation. Some items may not be taxed in some tax regions, and some, often labor, may be taxed at different rates. The billing codes for products are called material codes.
To review these subjects, refer to the context-sensitive help on the following pages:
- Left Navigation Menu > Admin > Admin Categories > Features & Settings > Finance, Accounting & Invoicing > Billing Codes > Material tab
- Left Navigation Menu > Admin > Admin Categories > Features & Settings > Finance, Accounting & Invoicing > Tax Regions & Categories
When you add products to your Autotask instance, you simply need to select the material code with the correct tax category.
Autotask supports multiple levels of product categories and subcategories that let you organize your products. Think about how you would like to structure your product list to make things easier to find. Your product categories will act as filters when your users search for a specific product.
You may want to create top-level categories for Parts, Products, Subscriptions, and Software, and add sub-categories to them or just use one level of categories.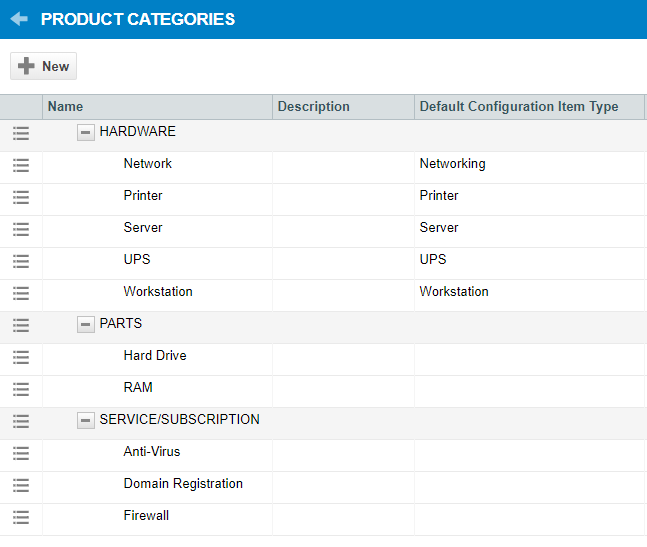
- You set up product categories on this page: Left Navigation Menu > Admin > Admin Categories > Features & Settings > Products, Services, & Inventory > Product Categories
- If you are using only one level of product categories, you can also create them automatically when you import products. Simply enter the name of the category into the Product Category field. Any categories that don't exist yet will be created.

You probably have documents or spreadsheets with lists of items or, for larger items, you use vendor web sites or quoting tools. You can easily import them into Autotask. The importing process is the same as for importing organizations and contacts, which you did during your implementation. Just make sure that you populate the Material Code column with values that are already set up in your Autotask instance, or the import will fail.
Review the Help topic on the following page: Left Navigation Menu > Admin > Admin Categories > Features & Settings > Products, Services, & Inventory > Products > Import > click Import.
All other roles
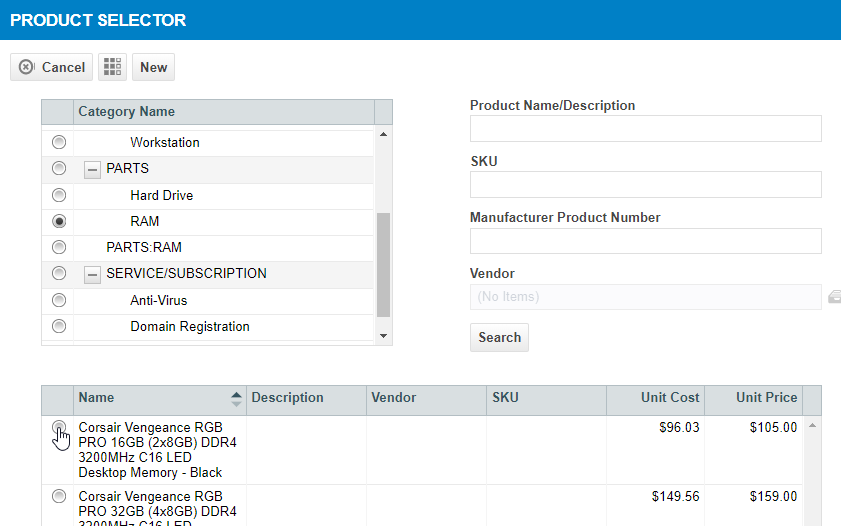
Items on the product list can easily be selected when adding a charge on a ticket: